Configuring Oracle Cloud (OCI) in OpsRamp involves creating users and IAM policies, obtaining necessary credentials from Oracle Cloud, and setting up the integration in OpsRamp. Follow the steps below to ensure a smooth setup process.
Create User and IAM Policies
If a new user is needed to create API keys and access resources in the OCI tenancy, follow the steps mentioned in Create a new OCI user to create a new user.
After creating a user or for an existing user, ensure they have the appropriate IAM policies assigned to their user group to access the required resources. Add the following permissions to the IAM policies for the user group:
If a user is unable to view or add API keys under My Profile → API Keys, ensure that the following permission is added to their IAM policy:allow group <GroupName> to manage api-keys in tenancy
To discover and monitor OCI resources across the tenancy, add the following permissions to the IAM policy:
allow group <Group Name> to read all-resources in tenancy
allow group <Group Name> to read metrics in tenancy
Get Credentials List from Oracle Cloud
To configure Oracle Cloud (OCI), you need to first get the credentials from Oracle Cloud (OCI) portal:
Login to the Oracle Cloud (OCI) portal.
Open the Profile menu and click My Profile.
In the Resources section at the bottom left, click API keys.
Click Add API key at the top left of the API keys list.
The Add API Key dialog box is displayed.
Click Download Private Key.
Click Add.
The key is added and the Configuration File Preview is displayed. Copy the required parameters and values displayed in the file snippet as you need to provide the values while creating OpsRamp integration.
OpsRamp Configuration
After you have copied all the details from your Oracle Cloud (OCI) account, use the details to install Oracle Cloud (OCI) integration on the OpsRamp console.
To install Oracle Cloud (OCI) integration:
Click All Clients and from the drop-down list, select a client.
Navigate to Setup > Account.
On the ACCOUNT DETAILS page, select Integrations and Apps.
The INSTALLED INTEGRATIONS page is displayed with all the installed applications.Note: If there are no installed applications, it will navigate to the AVAILABLE INTEGRATIONS AND APPS page.
Click + ADD on the INSTALLED INTEGRATIONS page. The AVAILABLE INTEGRATIONS AND APPS page displays all the available applications along with the newly created application.Note: You can even search for the application using the search option available. Also, you can use the All Categories option to search.
Click +ADD on the Oracle Cloud tile.The Add Oracle Cloud page is displayed.
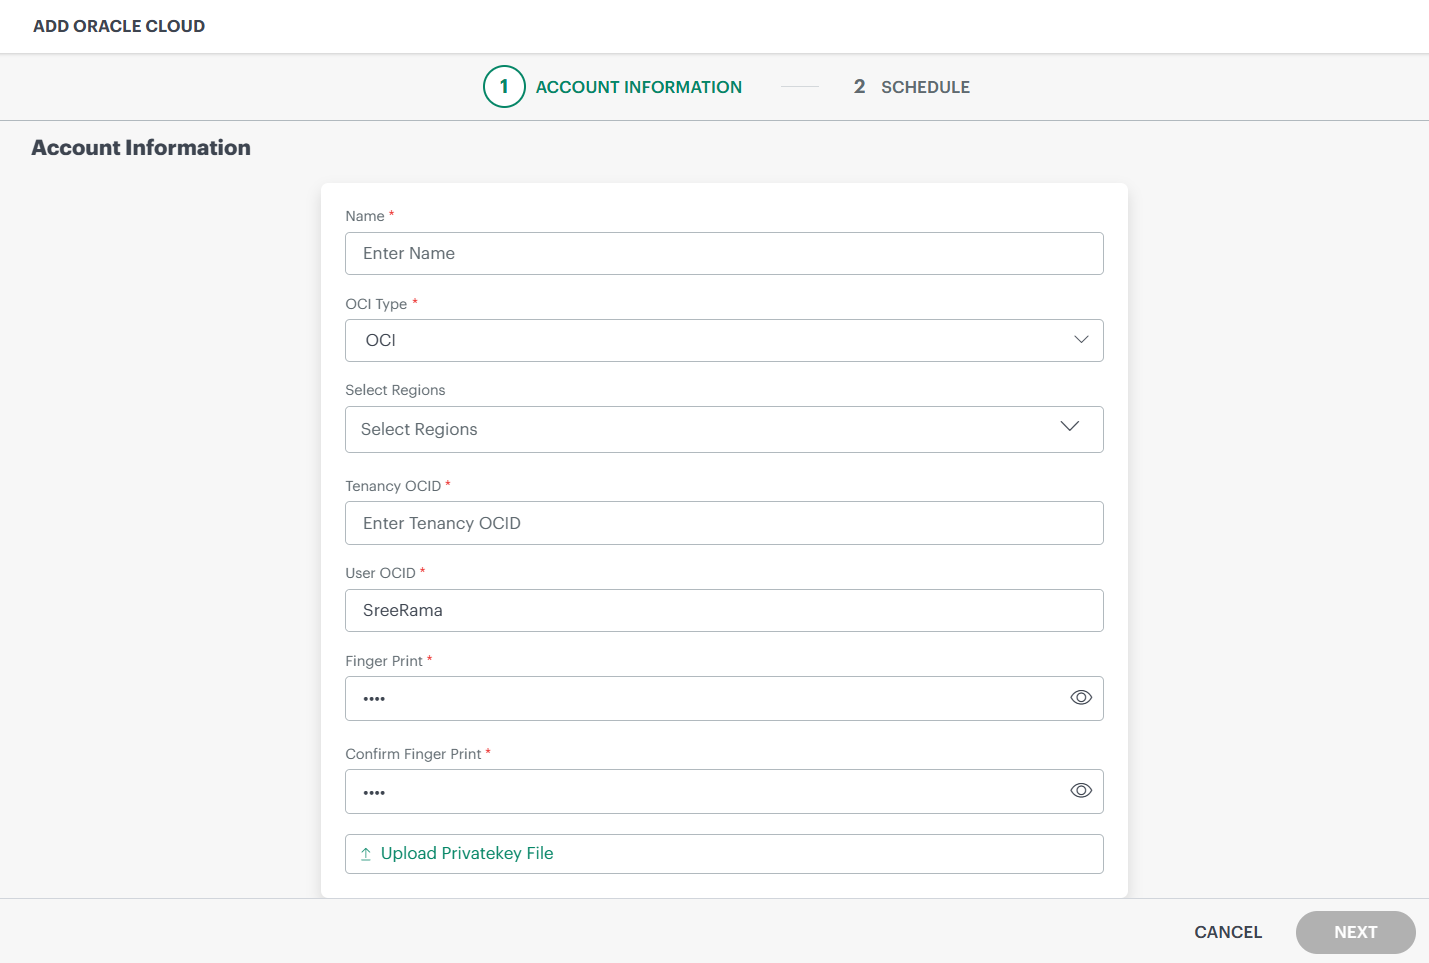
Provide the details in the ADD OCI page:
Name - Provide a name for the integration.
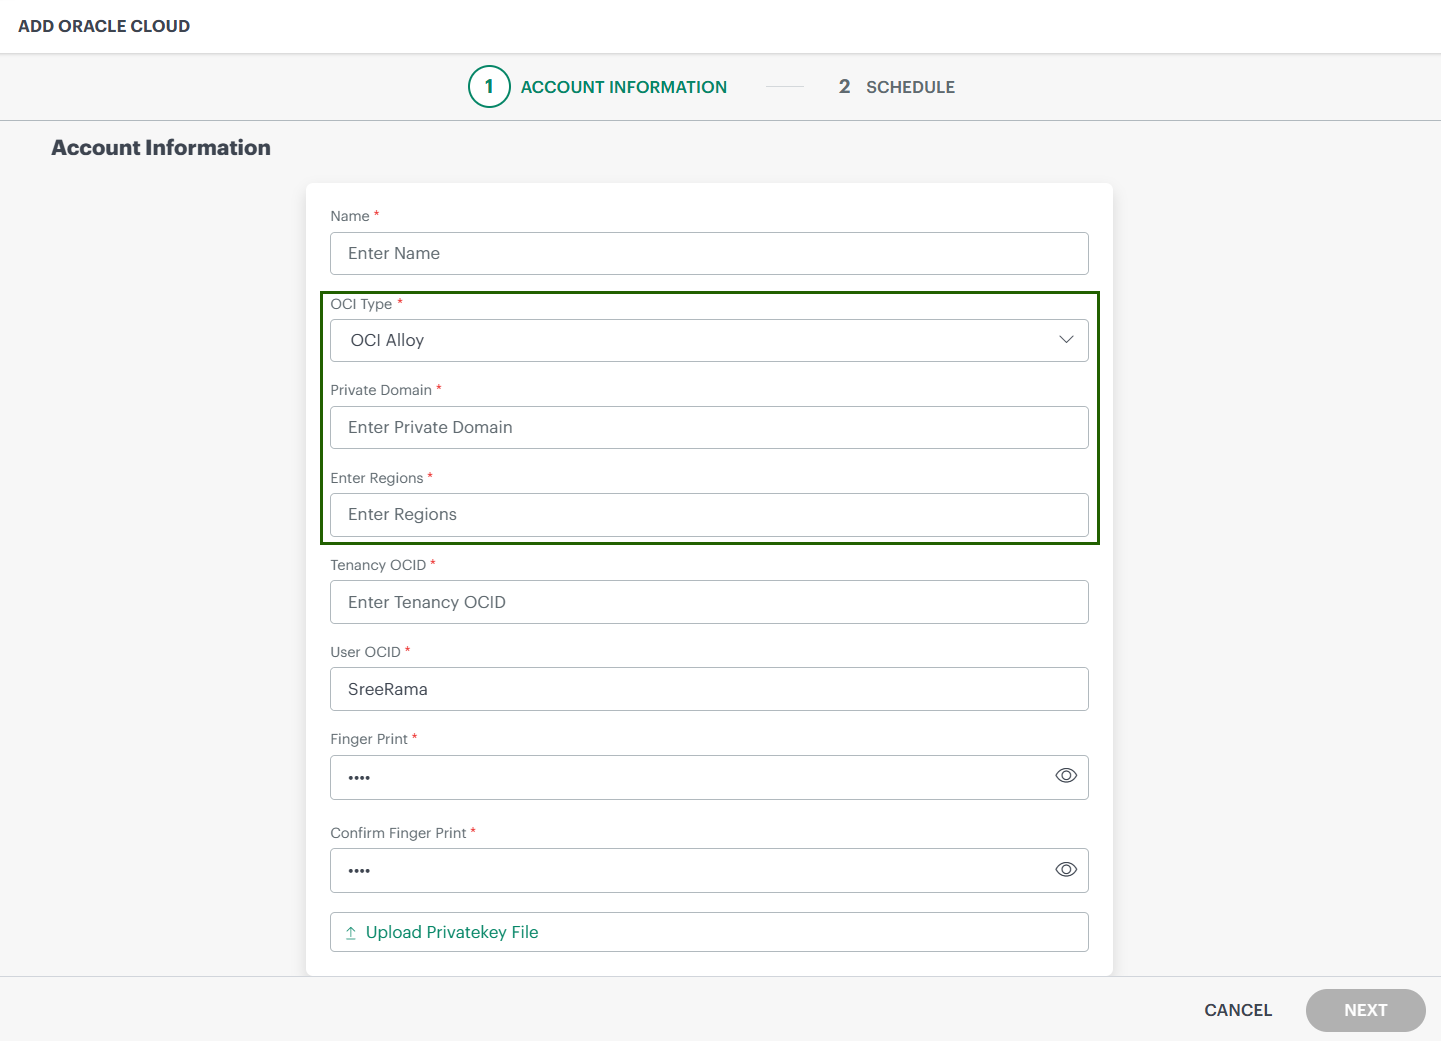
OCI Type - Select the OCI environment type (OCI or OCI Alloy).
If OCI is selected:
Select Regions - Enter list of regions for which you need to discover the resources.
If OCI Alloy is selected:
Private Domain - Enter the private domain for the OCI Alloy environment.
Enter Regions - Enter the list of custom regions for resource discovery (for example, Region 1, Region 2, Region 3).
Tenancy OCID - Enter Tenancy OCID that is saved while creating API Key in Oracle Cloud (OCI).
User OCID - Enter User OCID that is saved while creating API Key in Oracle Cloud (OCI).
Finger Print - Enter finger print that is saved while creating API Key in Oracle Cloud (OCI).
Confirm Finger Print - Reenter the finger print.
Upload Private Key file - Upload private key file that downloaded from in Oracle Cloud (OCI) portal.
Click NEXT.
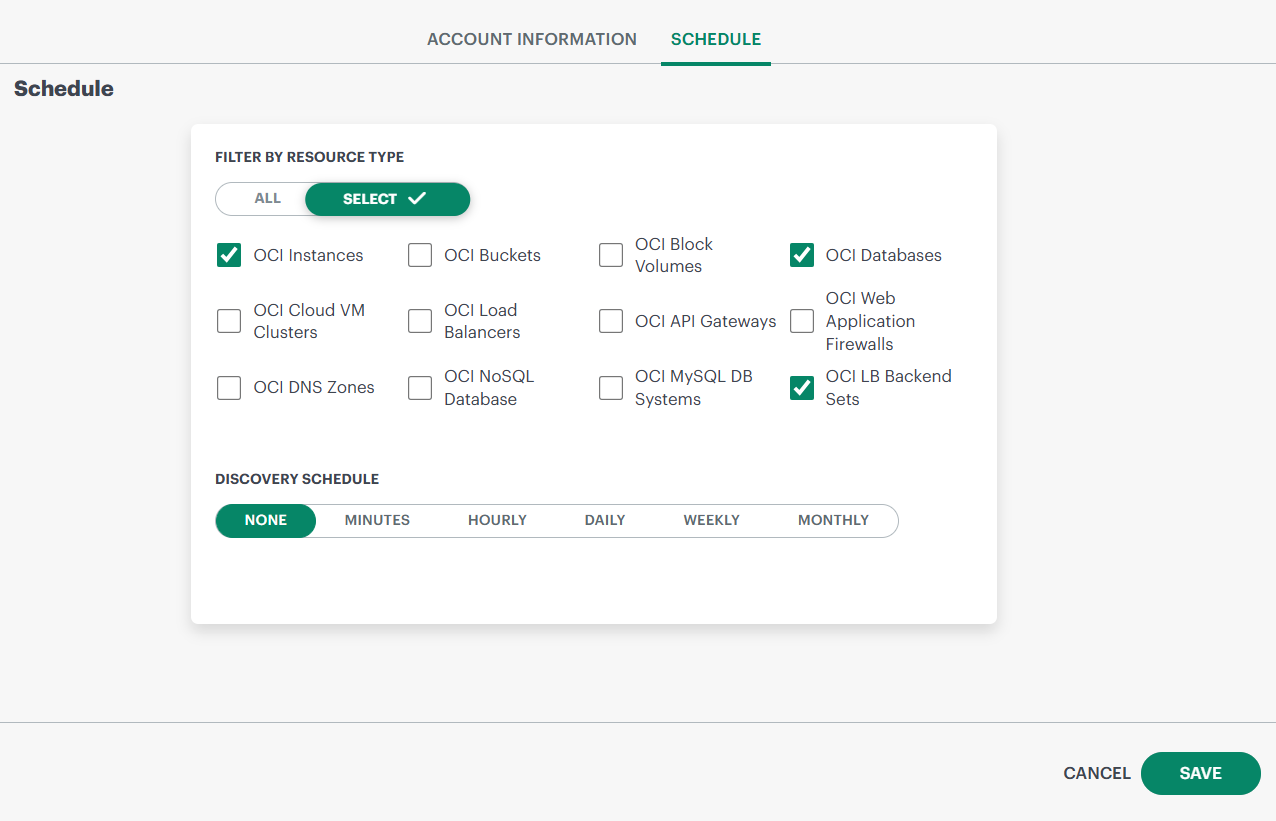
Under FILTER BY RESOURCE TYPE select:
ALL: All the existing and future resources will be discovered.
SELECT: You can select one or multiple resources to be discovered.
Select the required resource types.
In the DISCOVERY SCHEDULE section, select Recurrence Pattern to add one of the following patterns:
Minutes
Hourly
Daily
Weekly
Monthly
Click Finish.The application is now installed and displayed on the Installed Integration page. Use the search field to find the installed application.