Introduction
Cherwell Service Management is a cloud-based IT service management solution that helps IT teams in organizations implement, automate and upgrade service and support processes. This collaboration integration is a one-way integration and supports only outbound requests.
This collaboration integration supports the webhook-based inbound calls with different types of service management requests. For example, you can select one or multiple Entity Types from Incident, Service Request, Problem, and Change.
Install the Integration
- From All Clients, select a client.
- Go to Setup > Account.
- Select the Integrations and Apps tab.
- The Installed Integrations page, where all the installed applications are displayed. Note: If there are no installed applications, it will navigate to the Available Integrations and Apps page.
- Click + ADD on the Installed Integrations page. The Available Integrations and Apps page displays all the available applications along with the newly created application with the version.
- Search for Cherwell using the search option available.
Note: Alternatively, you can use the All Categories option to search. - Click ADD on the Cherwell tile. The Inbound tab is displayed.
Configure the Integration
Based on your requirements, you can configure Inbound, Outbound or both.
Configure the Inbound (From Cherwell to OpsRamp)
To configure the inbound, follow these steps:
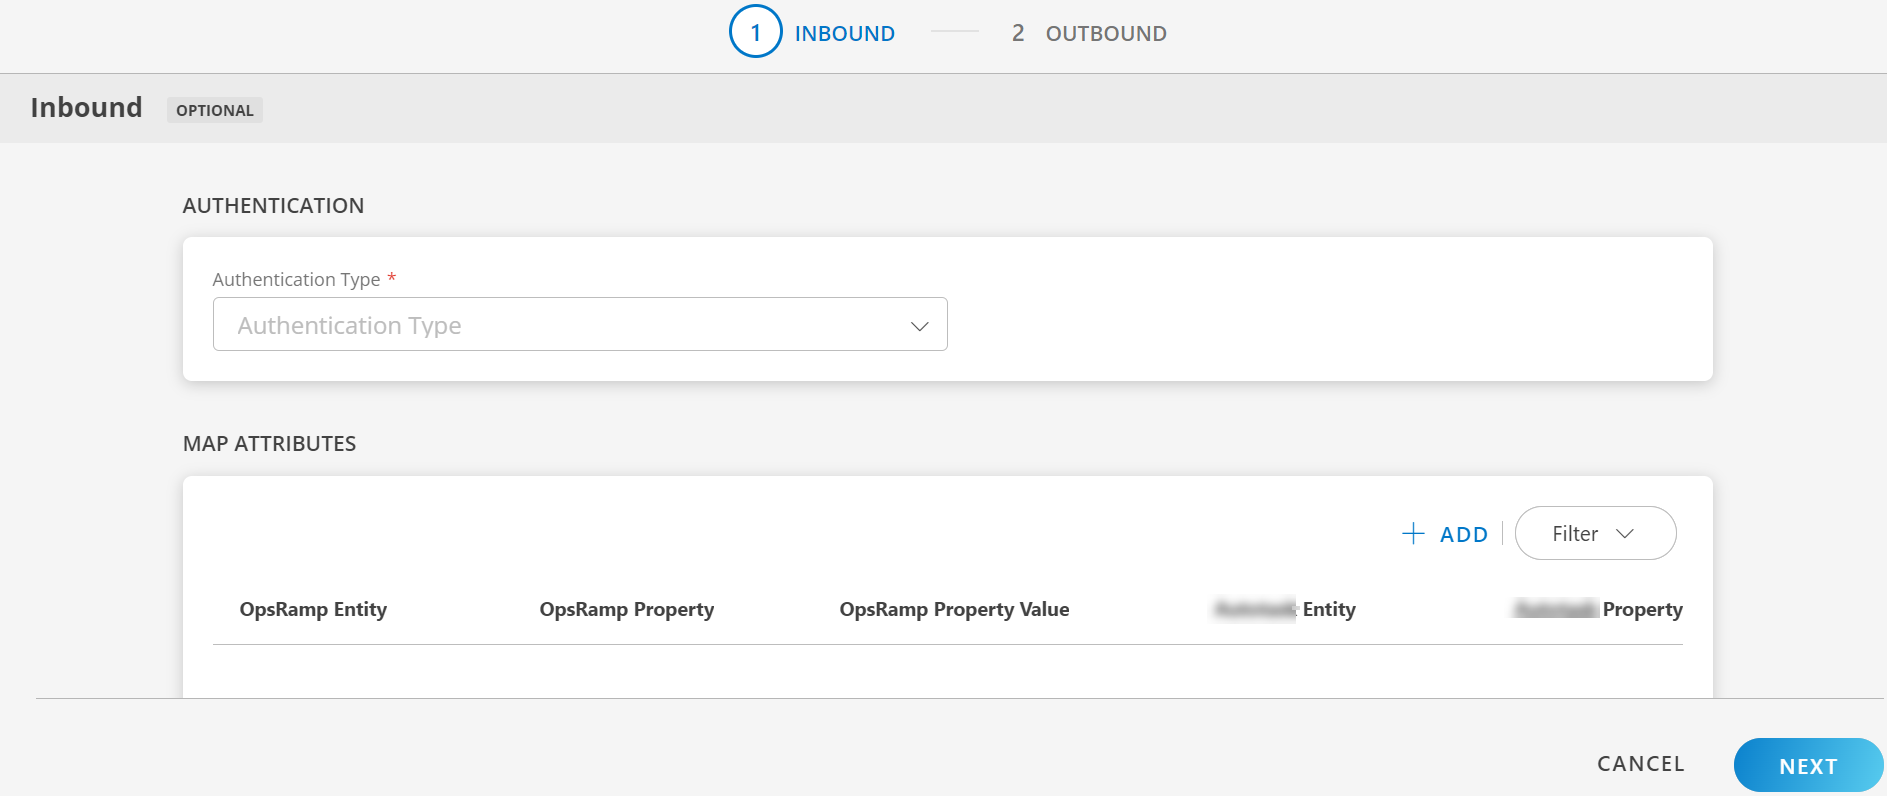
- Authentication:
- OAUTH2. Select OAUTH2 from the Authentication Type dropdown and click Generate Key to generate the Key and Secret.
Note: Keep a copy of the token as the information will not appear again. Read information about the Access Key. - WEBHOOK: Choose “WEBHOOK” as the authentication method, then select the required entity type from the dropdown. Click the Generate Key button to create the Key and Secret pair.
- OAUTH2. Select OAUTH2 from the Authentication Type dropdown and click Generate Key to generate the Key and Secret.
- Map Attributes: Map OpsRamp entity attributes with Cherwell attributes.
- Click +Add from the Map Attributes section.
- From the Add Map Attributes window, enter the below information:
- OpsRamp Entity: Select the Opsramp entity from dropdown.
- OpsRamp Property: Select the Opsramp property from dropdown. It will change based on entity selection.
- Cherwell Entity: Enter the Cherwell entity.
- Cherwell Property: Enter the Cherwell property.
- Click +Property Value in the Property Values section, and enter Cherwell Property Value and OpsRamp Property Value and click Save.
Note:- The Property values section appears based on the OpsRamp Property selected.
- To add property values, click +Property Value.
- To map more attributes, click +Entity.
- Properties:
- Click +Properties from the Properties section.
- Enter the values for the Properties and Value fields and click Save.
Note: To add properties, click +Properties - Click Add Map Attributes.
- Click Next. The Outbound tab is displayed.
Configure the Outbound (From OpsRamp to Cherwell)
To configure the outbound, follow these steps:
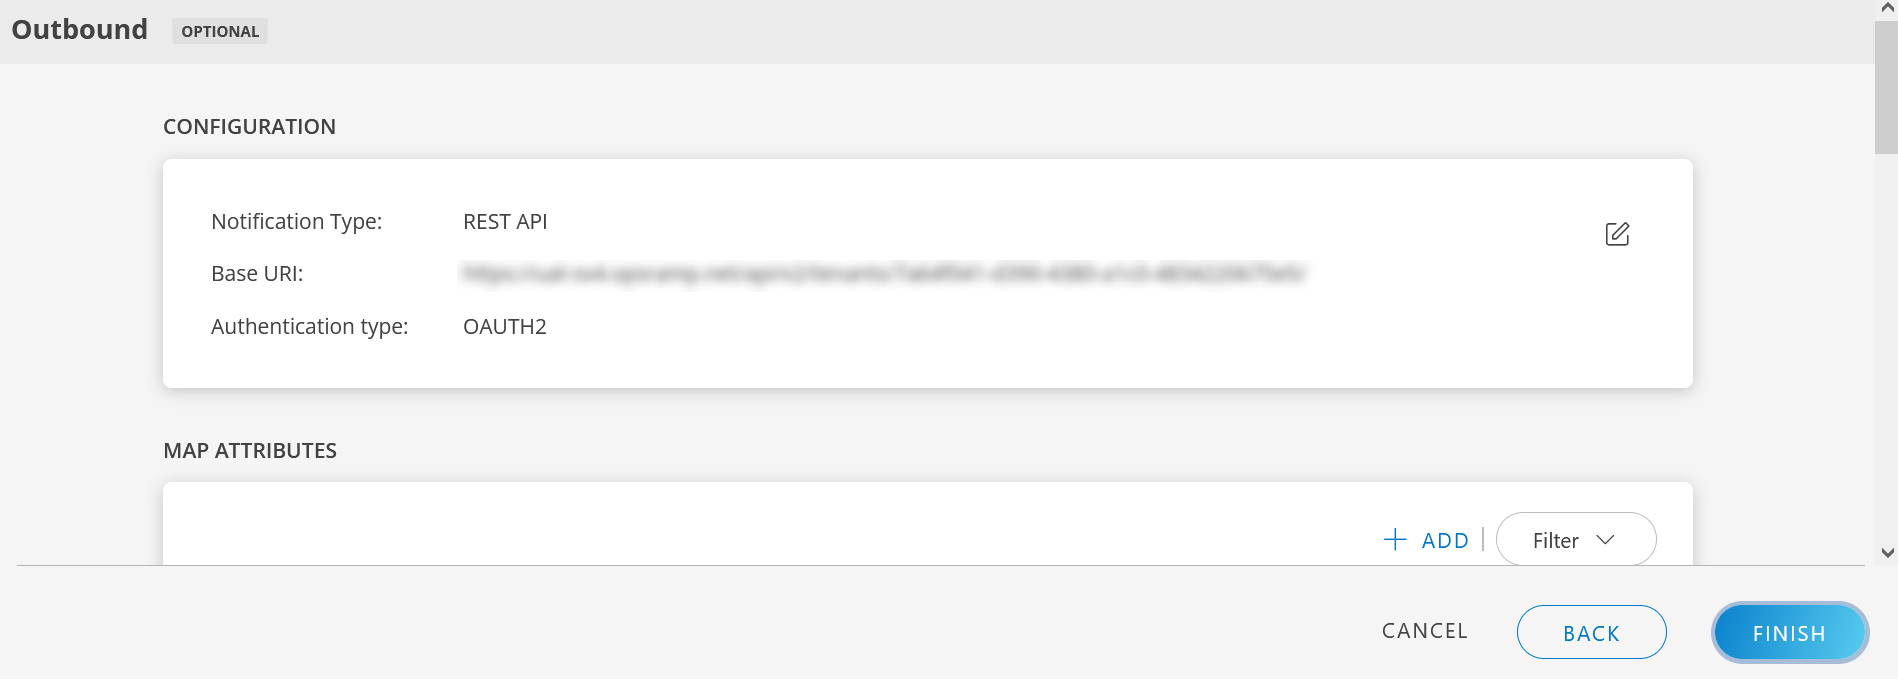
- Configuration: The notification details to trigger integration events are displayed.
- Base URI:
https://{subdomain}.com/arsys/services/ARService?server=oncherwell-s&webService=OpsRamp_CreateIncident - Notification Type: Select the Notification Type. Available options are REST API and SOAP API.
- Authentication Type: Based on the Notification Type selected, the Authentication Type differs. Available options are Basic, OAuth2, JWT, None.
- Base URI:
- Map Attributes: From the Map Attributes window, enter the below information:
- OpsRamp Entity: Select the OpsRamp entity from dropdown.
- OpsRamp Property: Select the OpsRamp property from dropdown. It will change based on entity selection.
- Cherwell Entity: Enter the Cherwell entity.
- Cherwell Property: Enter the Cherwell property.
- Click +Property Value in the Property Values section, and enter Cherwell Property Value and OpsRamp Property Value and click Save.
Note:- The Property values section appears based on the OpsRamp Property selected.
- To add property values, click on +Property Value.
- To map more attributes, click on +Entity.
- Click Add Map Attributes .
- Events: Events are for sending notifications when an action is performed on OpsRamp entities.
- Click Add in the Events section.
- Enter a name for the event.
- Select the Entity, Entity Type, and Entity Type Event from the drop-down lists.
- (Optional) Under Advanced Settings, enter the values for Property, Operator, and Value and click Save.
- From Actions:
- Select Use Parent Configuration checkbox to inherit parent configuration.
- Enter Endpoint URL.
- Select the Notification Type. Available options are REST API and SOAP API.
- Select the Authentication Type. Based on the Notification Type selected, the Authentication Type differs. Available options are Basic, OAuth2, JWT, None.
- Select the web method.
- Headers:
- Click +Add and enter/select the header name and value.
- Click Save to save the header name.
- (Optional) Click +Add to add more _headers
- Enter the Payload.
- Response:
- Click +Add and enter/select the response name and value.
- Click Save to save the response name.
- (Optional) Click +Add to add more responses.
Note:- The event is created, only if you provide the response properties.
- You cannot enter more than four responses.
- (Optional) Attachment: In the Attachment section, provide inputs in the Process Type, Attachment Endpoint URL, and Web Method fields.
- Attachment Headers: In the Attachment Headers section, provide inputs in the Name and Value fields and click on Save.
- Enter the payload in the Attachment Payload box.
- Enter the Key and Value in the Attachment Response section.
- Click Add Event. The event is added.
There are some actions you can perform on the Events.
See here for more details.
Integration response mapping configuration
Response mapping configuration is mainly based on the response payload that is received in third party payload; below are a few examples for response mapping configuration:
- sample response payload to mapping the id in response mapping:
{
"id":"INC0001",
"type":"incident",
"tool":"servicedesk"
}
external ticket id = $id
We need to append $ to the value - sample response payload to mapping the id in response mapping:
{
"result":{
"id":"INC0001",
"type":"incident",
"tool":"servicedesk"
    }
}
external ticket id = $result.id
- Sample response payload to mapping the id in response mapping
{
       "result":[
          {
             "ticketDetails":{
            "id":"INC0001",
            "type":"incident",
            "tool":"servicedesk"
      },
         "Description":{
            "display_value":"testing description",
            "value":"validating"
         }
      }
   ]
}
external ticket id = $result[0].ticketDetails.id
- sample response payload to mapping the Incident Number in response mapping
    {
      "result": {
      "Incident Number": "INC0001",
      "type": "Incident"
      }
    }
external ticket id = $result[‘Incident Number’]
- Failures: In the case of failure in integration, an Email is sent to the user about the failure in integration.
To configure failure notification:- Click add from the Failures section.
- Select notification type as Email.
- Enter the email address(es) in the To and CC fields
- Click Add Failure Notifications. The details are added.
- Click Finish. The integration is installed.
Actions on Integration
You can perform actions on an integration.
- See here for more information.
Actions on Event
Follow these steps to perform actions on the events:
- Click on the integration name.
- Navigate to Outbound tab > Events section.
- Hover over the event name.
- Click the actions (three dots) menu. A popup appears with options.
- Copy Id: To copy an event Id.
- Edit: To edit the event details.
- Save as: To save an event name.
- Validate: Validate if the event is successful.
- Select Json or Form.
- Json: Enter the payload and click on Validate.
- Form: Enter the property and value in the fields and click on Validate.
A green tick appears if the event is successful
- Json: Enter the payload and click on Validate.
- Select Json or Form.
- Remove: To remove an event.
Audit Logs
View logs from the Audit Logs tab. You can view if the event was successful or not.
Integration Event Payloads
The following are field and example payloads to create incidents.
Create incident
| Field | Value |
|---|---|
| Endpoint URL | https://{subdomain}.com/CherwellAPI/api/V1/savebusinessobject |
| Headers |
|
| Method | POST |
| Authentication | OAUTH2 |
Request
The following is a sample request:
{
 "busObId": "6dd53665c0c24cab86870a21cf6434ae",
 "busObName": "Incident",
 "fields": [{
   "fieldId": "93e8ea93ff67fd95118255419690a50ef2d56f910c",
   "name": "ShortDescription",
   "value": "$incident.subject",
   "dirty": "true"
  },
  {
   "fieldId": "252b836fc72c4149915053ca1131d138",
   "name": "Description",
   "value": "$incident.impact",
   "dirty": "true"
  },
  {
   "fieldId": "83c36313e97b4e6b9028aff3b401b71c",
   "name": "Priority",
   "value": "[@$incident.priority.name@]",
   "dirty": "true"
  },
  {
   "fieldId": "5eb3234ae1344c64a19819eda437f18d",
   "name": "Status",
   "value": "[@$incident.status.name@]",
   "dirty": "true"
  },
  {
   "fieldId": "933bd530833c64efbf66f84114acabb3e90c6d7b8f",
   "name": "CustomerRecID",
   "value": "9337c2322a087296f7322a481d8858300e3f6e1dbb",
   "dirty": "true"
  },
  {
   "fieldId": "936725cd10c735d1dd8c5b4cd4969cb0bd833655f4",
   "name": "Service",
   "value": "Account Management",
   "dirty": true
  },
  {
   "fieldId": "ae05c132527e48bd95d063c445622df7",
   "name": "Impact",
   "value": "Department",
   "dirty": true
  },
  {
   "fieldId": "29d741aae8bf461f8aafa3c9eb4dc822",
   "name": "Urgency",
   "value": "Medium",
   "dirty": true
  },
  {
   "fieldId": "943f9d35d7ec5d7dc0921a41609d8e93b03a62d190",
   "name": "OpsRamp Inc ID",
   "value": "$incident.uniqueId",
   "dirty": true
  },
  {
   "fieldId": "9339fc404e4c93350bf5be446fb13d693b0bb7f219",
   "name": "Owned By",
   "value": "Andrew Simms",
   "dirty": true
  }
 ]
}
Response
The following is a sample response:
{
 "busObPublicId": "102375",
 "busObRecId": "943f5ba5a1cb1fe68918764510ba96442c3a85e5d0",
 "cacheKey": null,
 "fieldValidationErrors": [],
 "notificationTriggers": [],
 "errorCode": null,
 "errorMessage": null,
 "hasError": false
}
Use tag: $busObPublicId to
read the Cherwell ticket ID and save it to the external entity ID of the OpsRamp incident.