Introduction
Create Dashboard variables to assign specific attributes. These are used to filter the data with different attributes, without creating a new tile every time a change is required.
Note
The dashboard variables cannot be created for OPSRAMP CURATED DASHBOARDS.Create a variable
Follow these steps to create a dashboard variable:
- Select a dashboard or create a new dashboard.
- Click +FILTER in the main dashboard page. The Dashboard Filters window is displayed.
- Click +Variable. The configuration parameters appear.
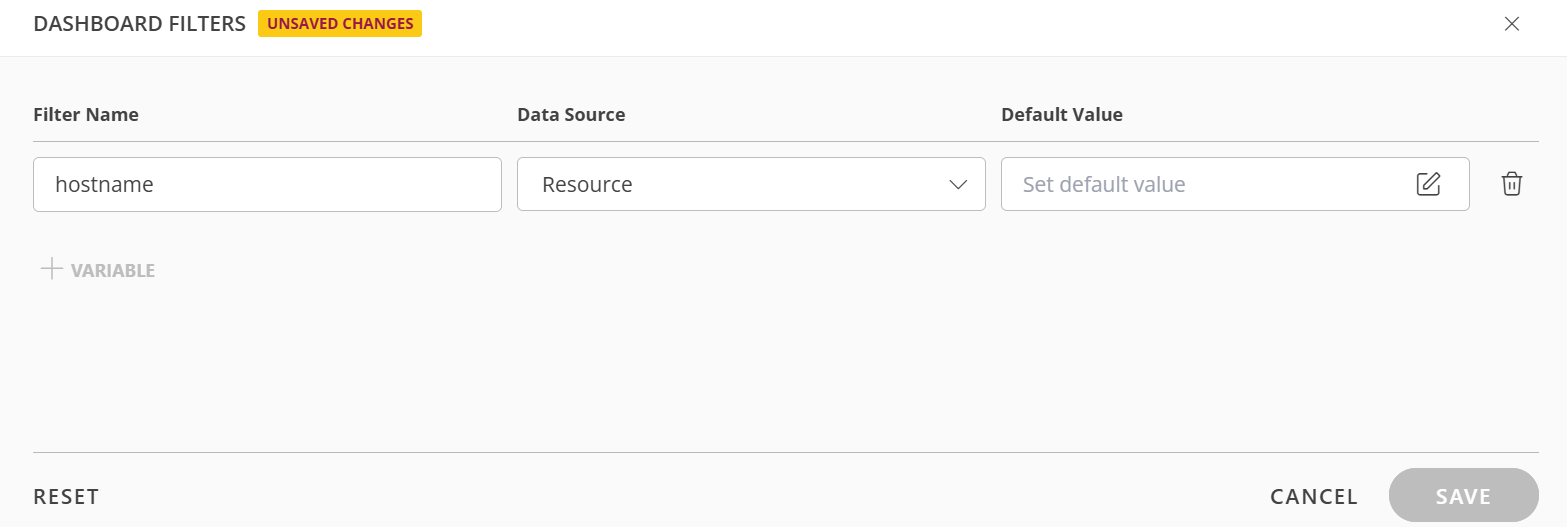
- Fill out the necessary parameters:
- Filter Name: A distinguishing name for the filter.
- Data Source: Select an option from the dropdown. The options are Metric, Resource, Alert, Ticket, Netflows.
- Default Value: Click the pencil icon to set default value. The Selectable Values Filter window is displayed.
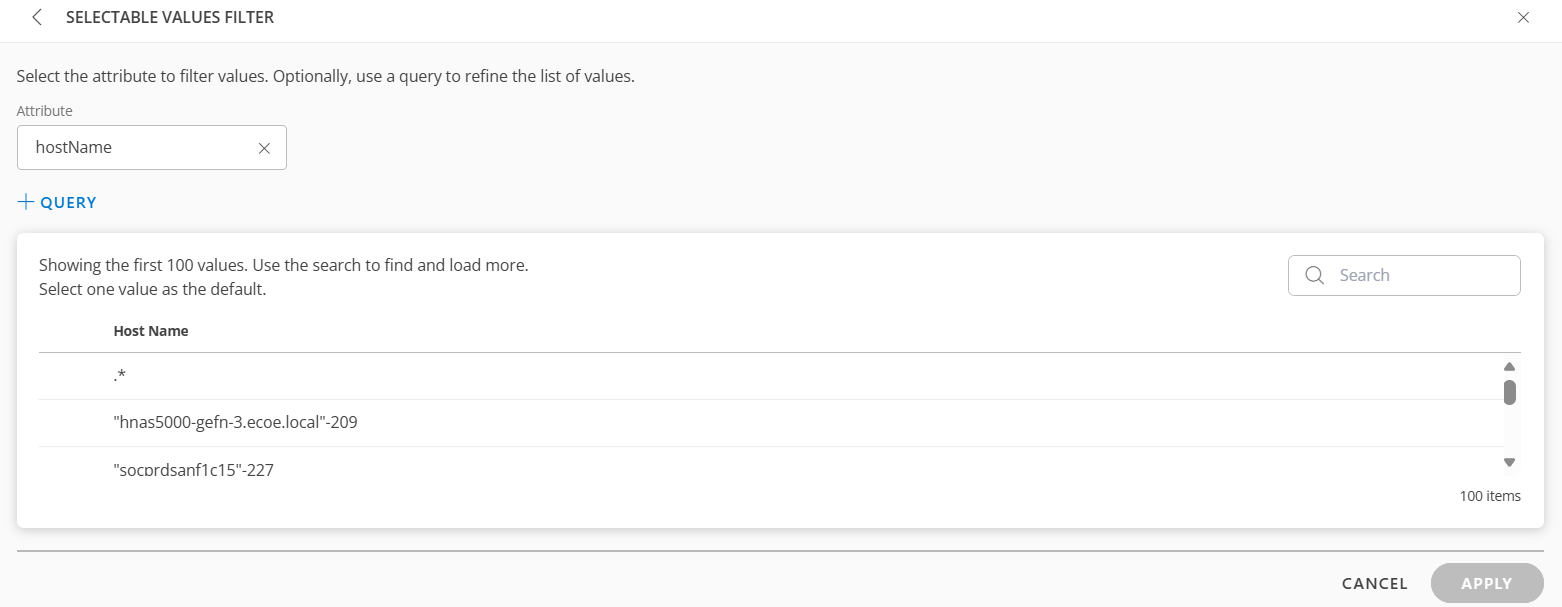
- Search for the value using the Search box.
You can use the +QUERY option for nested filter. - Select an attribute from the dropdown list.
- Click +QUERY and build a query.

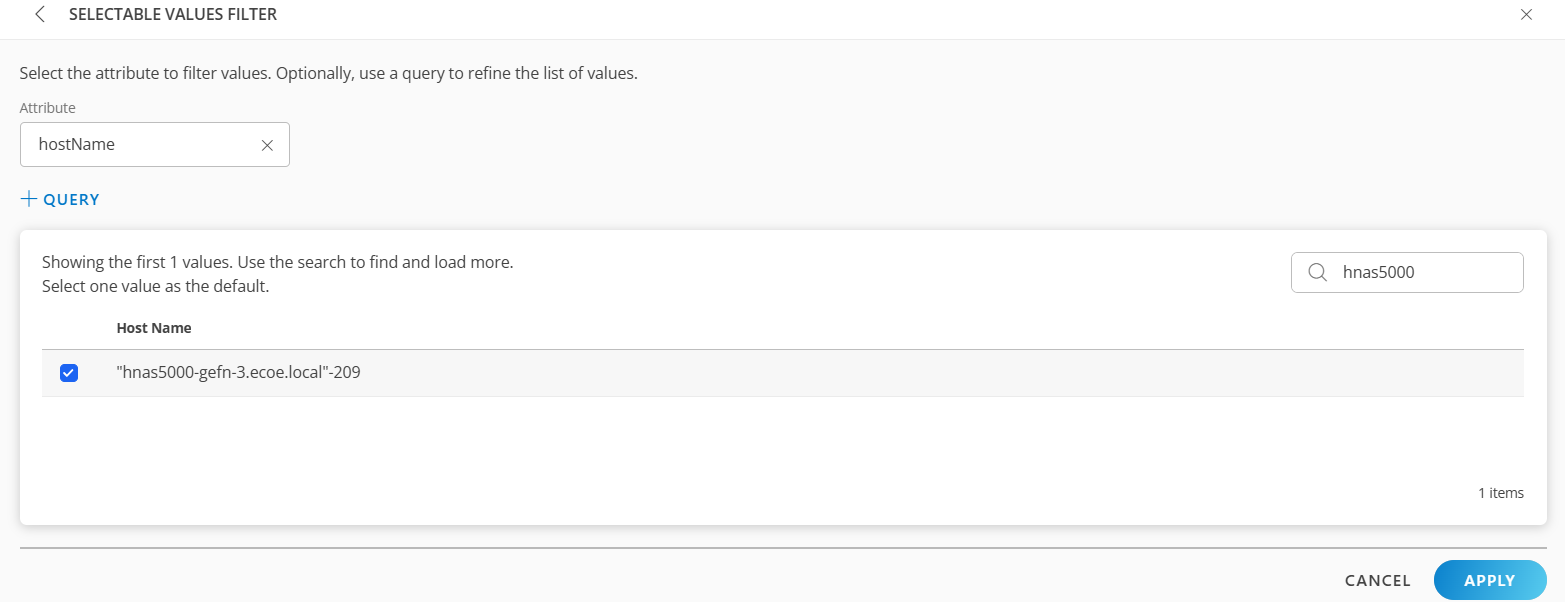
It displays the list of host names associated with the OS. - Use the search option to search for the value and select it.
- Click APPLY. The filter is displayed.
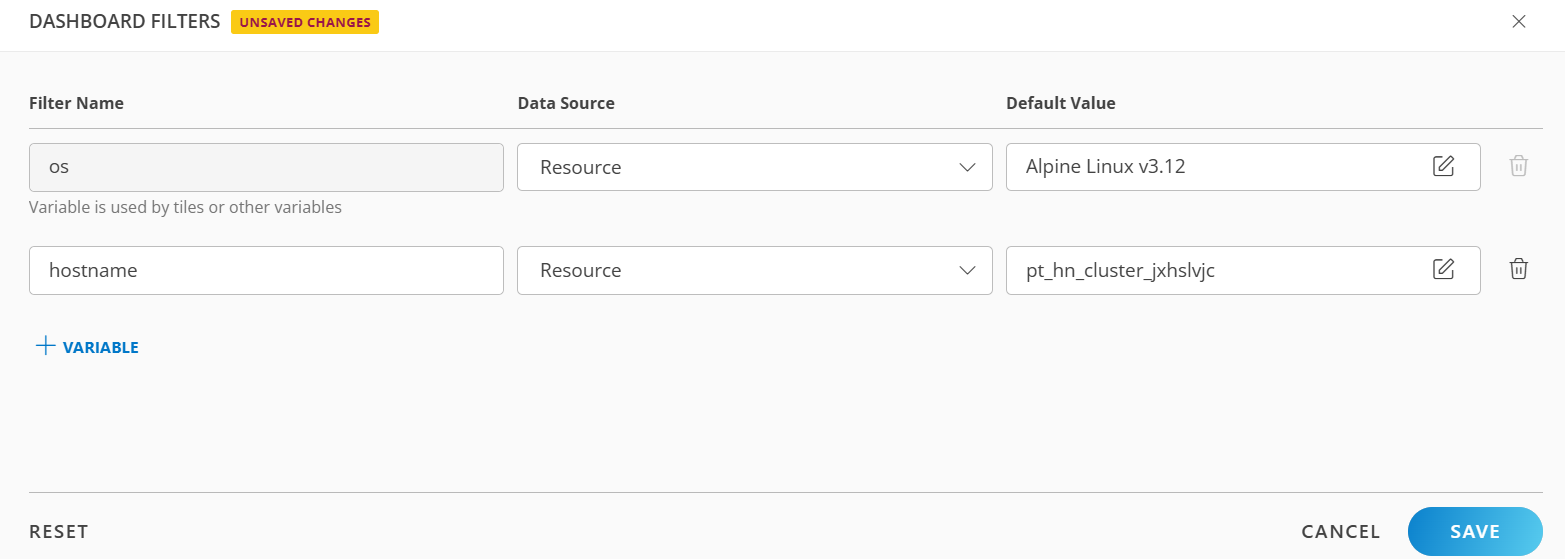
- Click SAVE. The dashboard filter is saved.
Create a Custom Variable
Custom variables can be created and used as placeholders in queries, panels, or titles. The value is defined by the user during variable creation and will remain constant across dashboard refreshes.
- Select a dashboard or create a new dashboard.
- Click +FILTER in the main dashboard page. The Dashboard Filters window is displayed.
- Click +Variable. The configuration parameters appear.
- Select Custom.

- Click Default Value to search and apply values.
- Click Save.
Use variable in a tile
The newly created variable can be applied to a tile.
- Click + on the Dashboard page, to create a new Resource tile or (Metric, Alert, Ticket, or NetFlows tile). The new variable will be available for selection. You can also edit an existing tile to add the filter to.
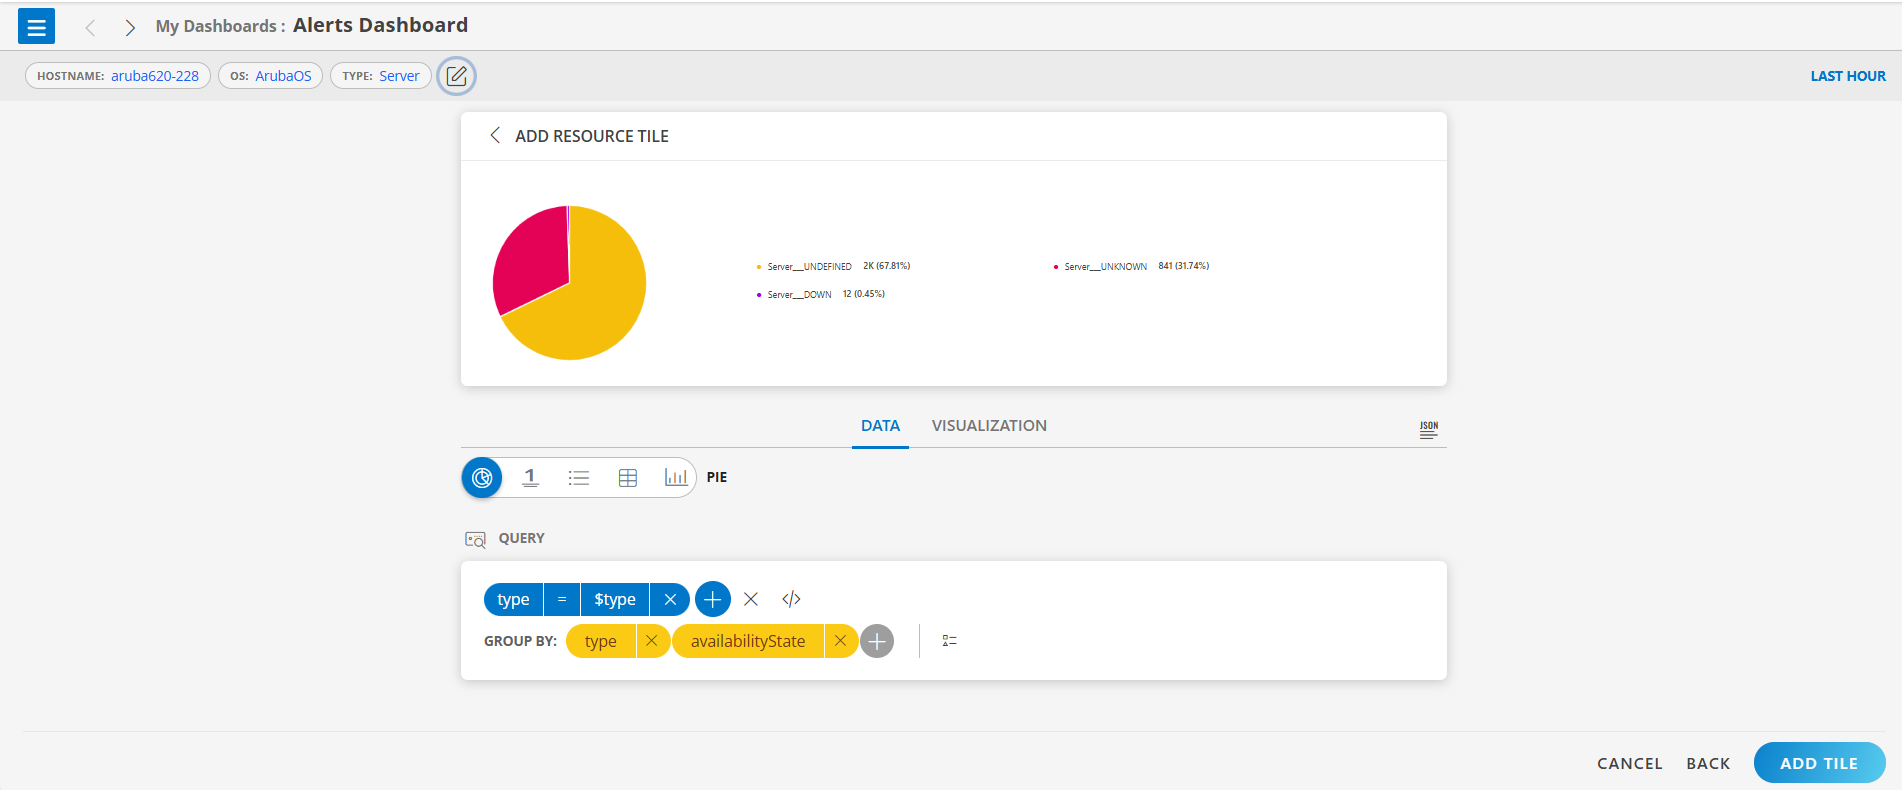
- To edit the variable, click the pencil icon next to the filter and select the desired value. The chart is automatically updated with the new data.
- To use the previous value, click RESET.
×![]()