Create a Text & Image
From Dashboard > Dashboard 2.0, create a new dashboard or select from an existing dashboard collection.
See Create Dashboards to learn about creating dashboards.
Click CREATE TILE or + from the toolbar.
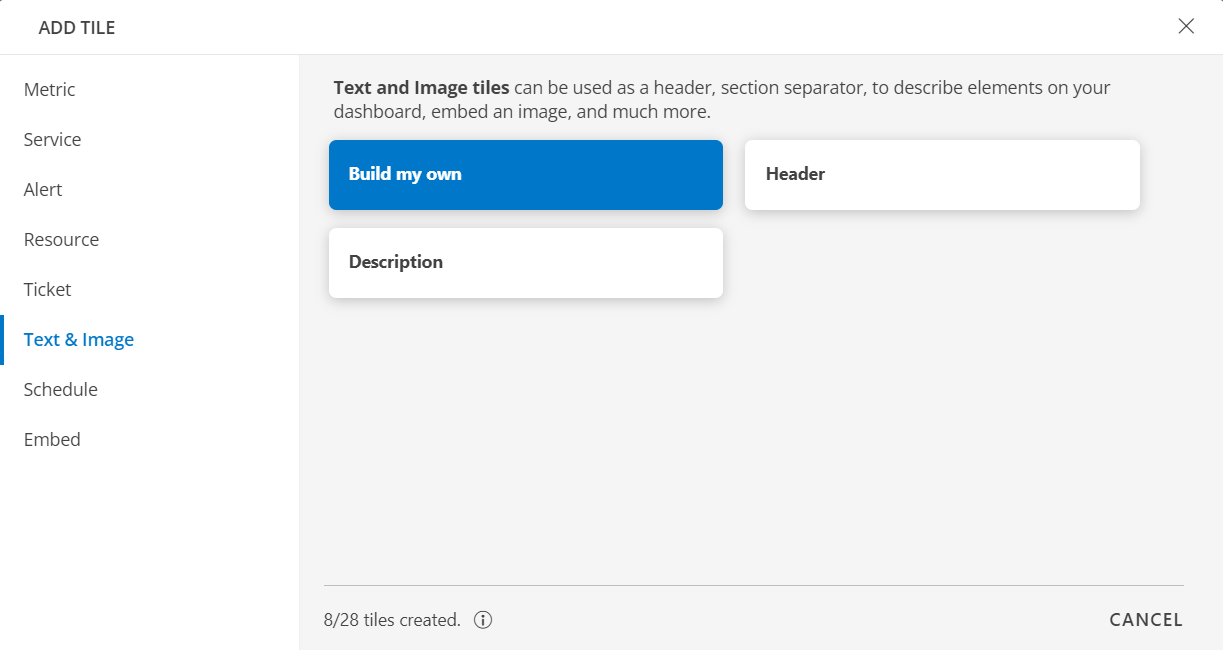
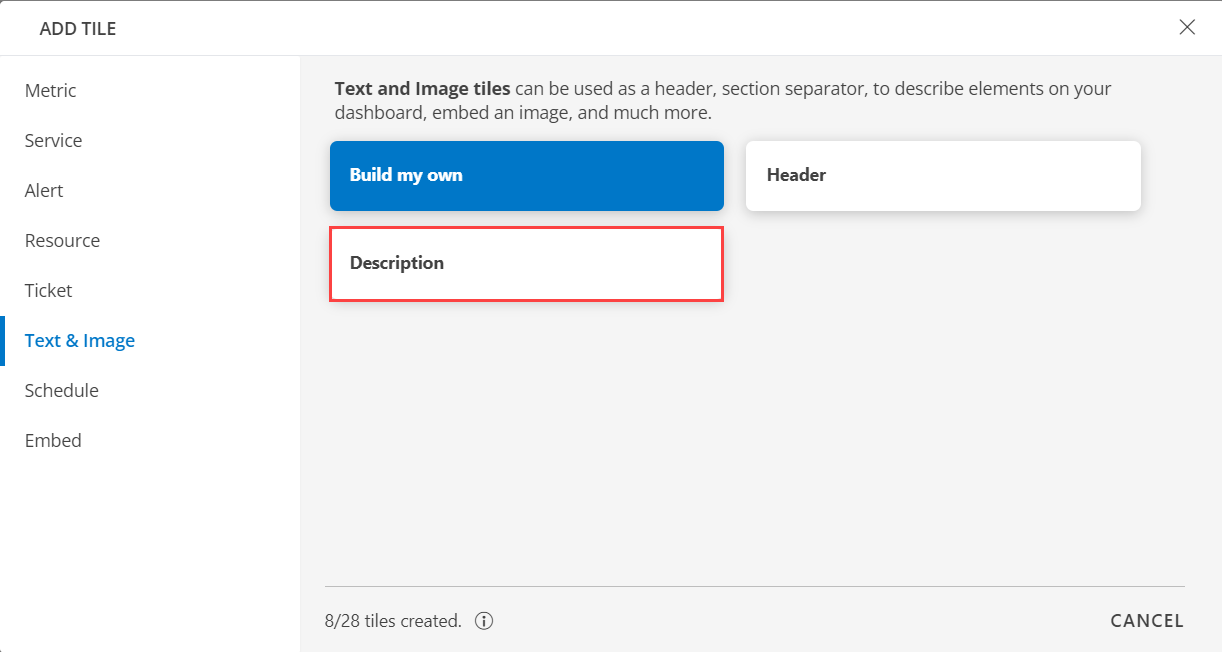
In the ADD TILE screen that appears, select Text & Image.
The following screen is displayed:
- Select one of the following:
| Tile Option | Functionality |
|---|---|
| Build my own | This is used as a header, section separator, to describe elements on your dashboard, embed an image, and much more.. |
| Header | Add a header. |
| Description | Add a description. |
Build My Own
Click here to view how to Build Your Own Query
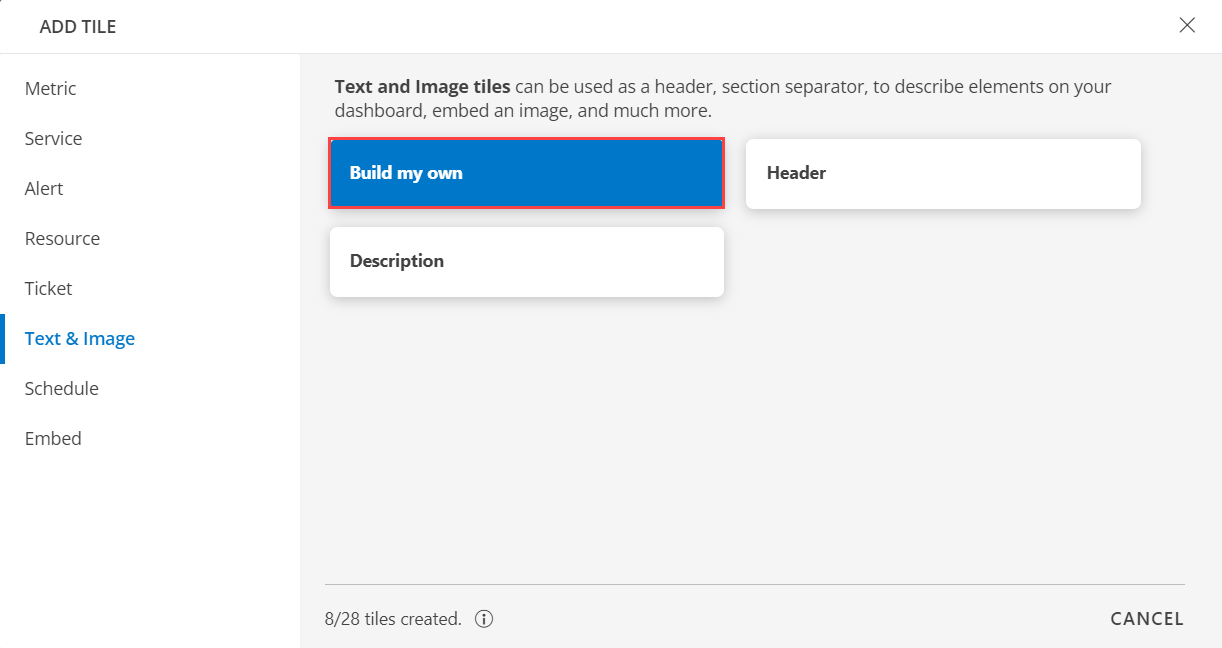
- Select the Build my own tab. This enables you to create a custom tile.
- Enter your text in the space provided.
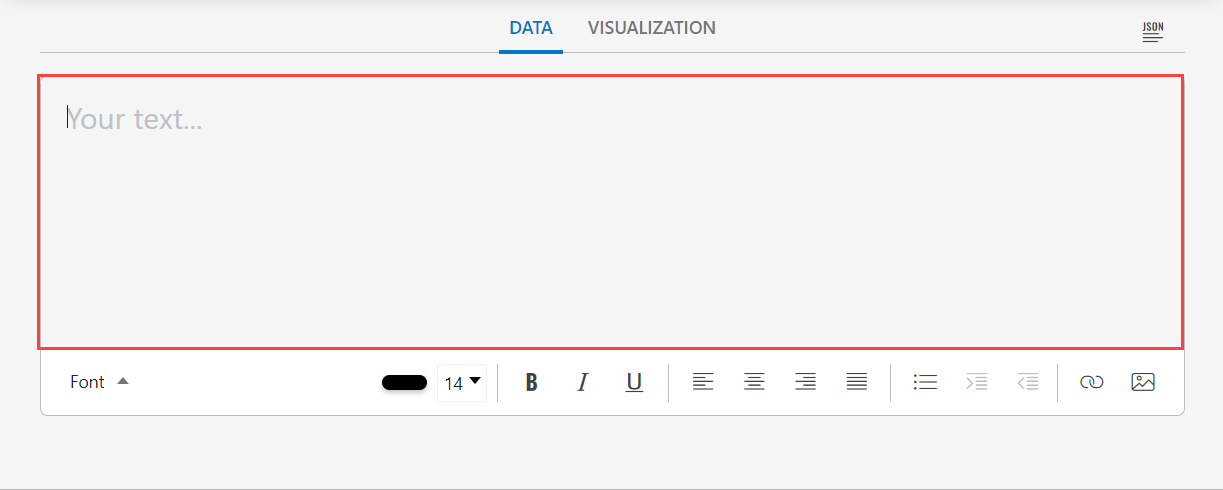
- You can customize your text using the below customization ribbon:
| Customization Ribbon | Description |
|---|---|
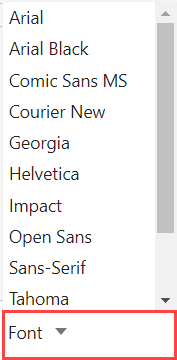 | Select the Font drop-down listbox to view the different fonts. |
 | Choose the color and size of the Text. |
 | Select Bold, Italic, and Underline. |
 | Choose either Left-aligned, Centered-aligned, Right-aligned, or Justified text |
 | Bulleted list. |
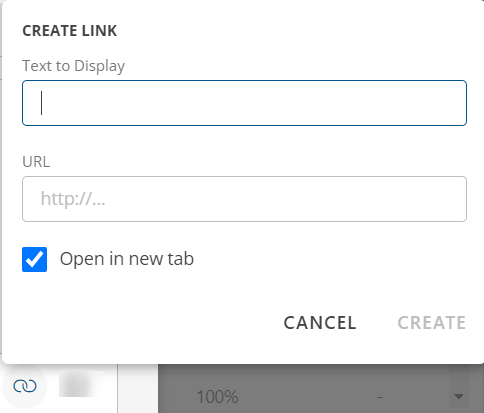 | Enter the Text to display with a link. Note: By default the Open in new tab checkbox is selected. |
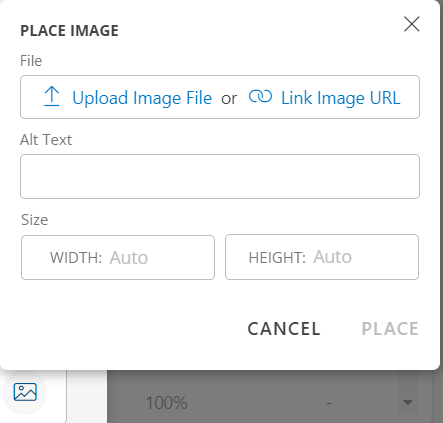 |
|
See Visualization to know on how to customize the Text & Image Tile.
Click Add Tile.
Header
Click here to view how to add a Header
- Select the Header tab.
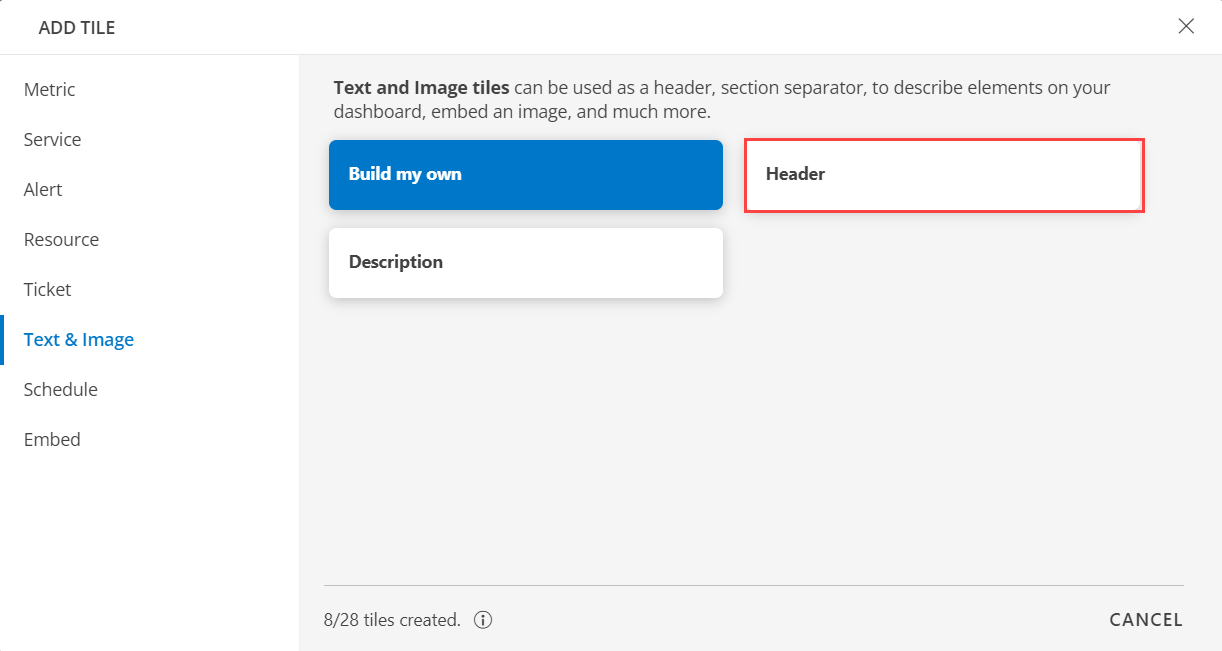
Enter the header in the space provided.
Note: By default the font is set to 36.You can customize your text using the below customization ribbon:
| Customization Ribbon | Description |
|---|---|
 | Select the Font drop-down listbox to view the different fonts. |
 | Choose the color and size of the Text. |
 | Select Bold, Italic, and Underline. |
 | Choose either Left-aligned, Centered-aligned, Right-aligned, or Justified text |
 | Bulleted list. |
 | Enter the Text to display with a link. Note: By default the Open in new tab checkbox is selected. |
 |
|
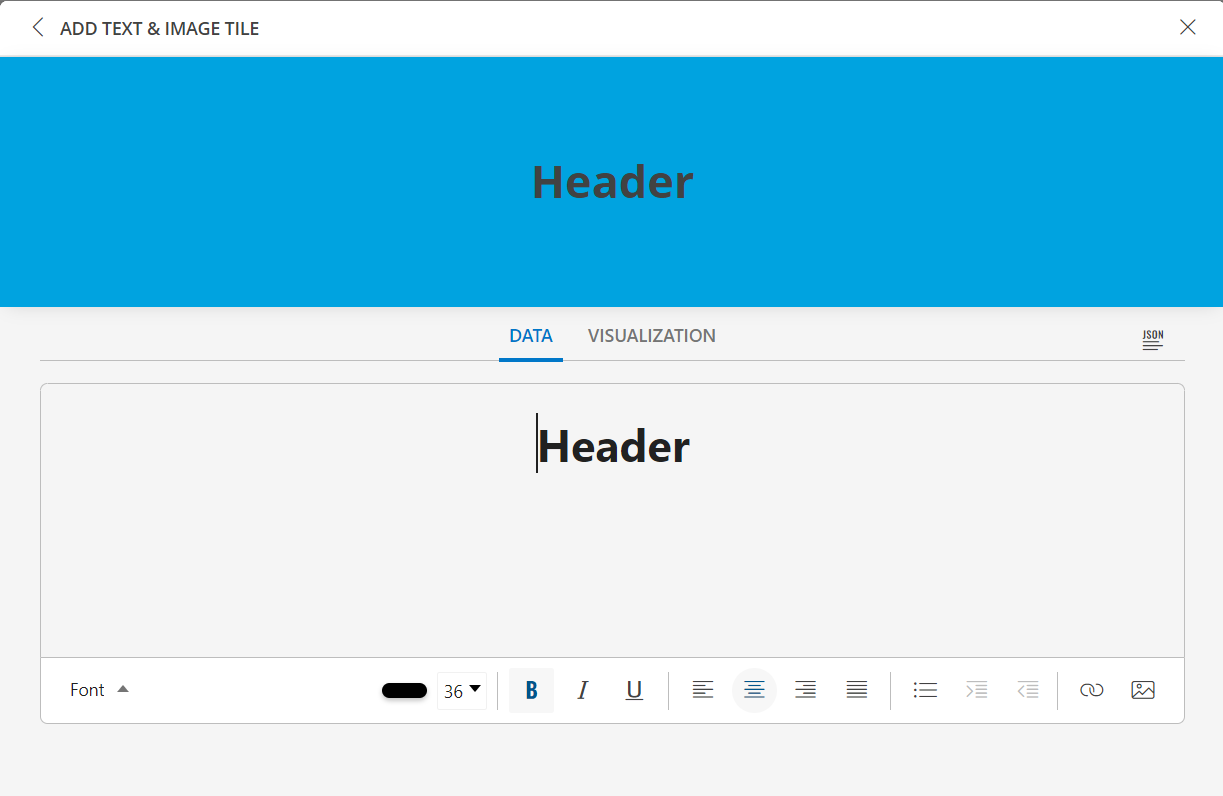
See Visualization to know on how to customize the Text & Image Tile.
Click Add Tile.
Description
Click here to view how toadd a Description
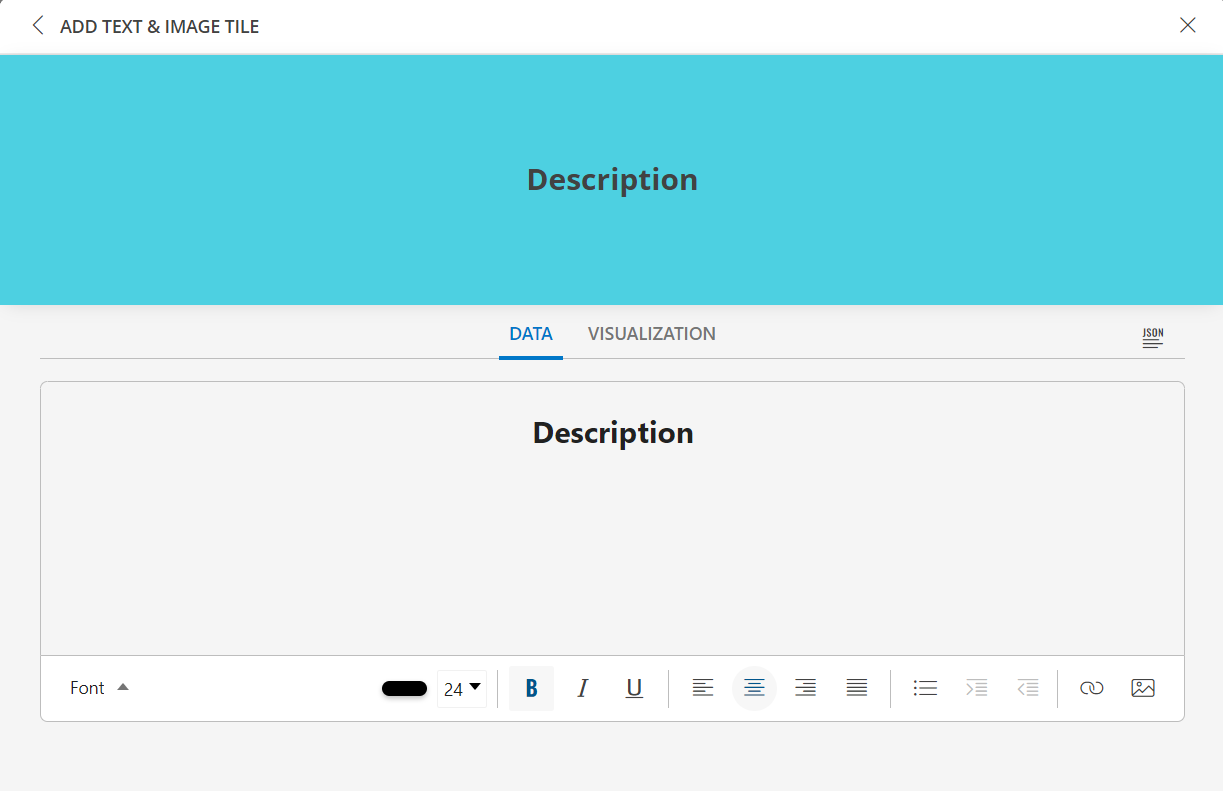
- Select the Description tab.
Enter your description in the space provided.
Note: By default the font is set to 24.You can customize your text using the below customization ribbon:
| Customization Ribbon | Description |
|---|---|
 | Select the Font drop-down listbox to view the different fonts. |
 | Choose the color and size of the Text. |
 | Select Bold, Italic, and Underline. |
 | Choose either Left-aligned, Centered-aligned, Right-aligned, or Justified text |
 | Bulleted list. |
 | Enter the Text to display with a link. Note: By default the Open in new tab checkbox is selected. |
 |
|
See Visualization to know on how to customize the Text & Image Tile.
Click Add Tile.
Visualization
- Click the Visualization tab to customize the visualization further:
- TILE
| Label Name | Description |
|---|---|
| Background Image |
|
| Background Color | Select the background color, enable or disable the background color by clicking the toggle ON or OFF background color. Note: By default the Background Color is disabled. |