This page describes how to configure reporting apps and generate the report as per your configurations.
Configurations of Reporting Apps
The configuration process is the same for all the apps except for a few minor changes, so given examples for two different types of apps to configure with all the required steps.
Example-1: Alert Listing
To configure the Alert Listing app, follow the below steps:
- Go to the Reporting Apps landing page.
- To configure the Alert Listing app, click on the app card to open it.
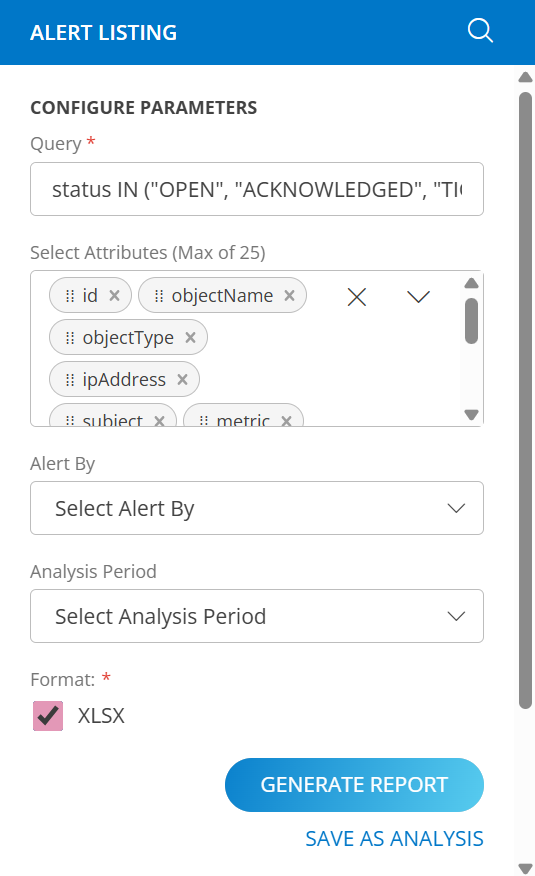
- In configuration Parameter section:
- Add Query: Using an OpsQL query, you can customize the report result. If users did not select “updatedTime” attributes in the query string, in that case the user selection query would be appended by default. For example: If a user only selects the alertType attributes, the query will automatically append with AND updatedTime > ‘-7d’ The query will look like below: (alertType = “MONITORING”) AND updatedTime > ‘-7d’
- Client Selection: You can select a single client or all clients from the dropdown list. Only selected client data will get into the report.
- Attributes Selection: Specify the attributes of the selected entities that you wish to include as columns in the report.
- Format: Choose the format (XLSX) of your report to be generated.
- After configuring all parameters, click Generate Report to create the report based on your selections. If you want to save this generated analysis for future use, click Save as Analysis.
Example-2: Asset Insights
To configure the Asset Insights app, follow the below steps:
- Go to the Reporting Apps landing page.
- To configure the Asset Insights app, click on the app card to open it.
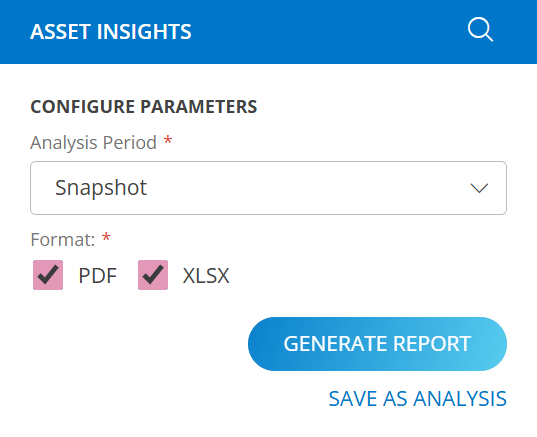
- In configuration Parameter section:
- Analysis Period: Default analysis period as Snapshot is selected.
- Format: Choose the format (PDF or XLSX) of your report to be generated.
- After configuring all parameters, click Generate Report to create the report based on your selections. If you want to save this generated analysis for future use, click Save as Analysis.
Once run has successfully configured the app, you will be able to download and save the report.
Note
For the following reporting apps, the attribute selection field will load the first 100 custom tags by default. To access a custom tag outside this default list, use the search feature with the relevant keywords.
- Alert Listing
- Asset Inventory
- Monitor Details
- Patch Details
- Metric Insights
- Availability Details
- Tenant Details
- Software Inventory
In the Partner Scope app, both Partner Custom Tags and Client Custom Tags will be loaded in the Attributes section and the Query Selection field.
Only tags that are assigned to at least one resource will be displayed.
Note
Removed support fortags.name and tags.value attributes across all apps and export options from listing pages (Resources, Alerts).Next Steps
Refer below documents: