This section describes how to deploy gateway as a virtual machine using ISO image on VMware ESXi Host using vSphere client.
ISO (International Organization for Standardization) is only applicable for the Kubernetes environment and Ubuntu/Linux operating system.
Prerequisites
To deploy a NextGen cluster in your kubernetes environment, make sure your environment meets these requirements:
8 GB Memory
50 GB Disk
4 Core of CPU
AMD64 Arch
If you are using a proxy, add the proxy details to /etc/environment. For more information, refer to the documentation.
To whitelist NextGen Gateway IPs, refer to the documentation.
Step 1: Download the NextGen Gateway ISO
Using the ISO image, you can install the gateway on VMware ESXi Server using VMware vSphere.
To download the gateway follow the below steps:
From All Clients, select a client.
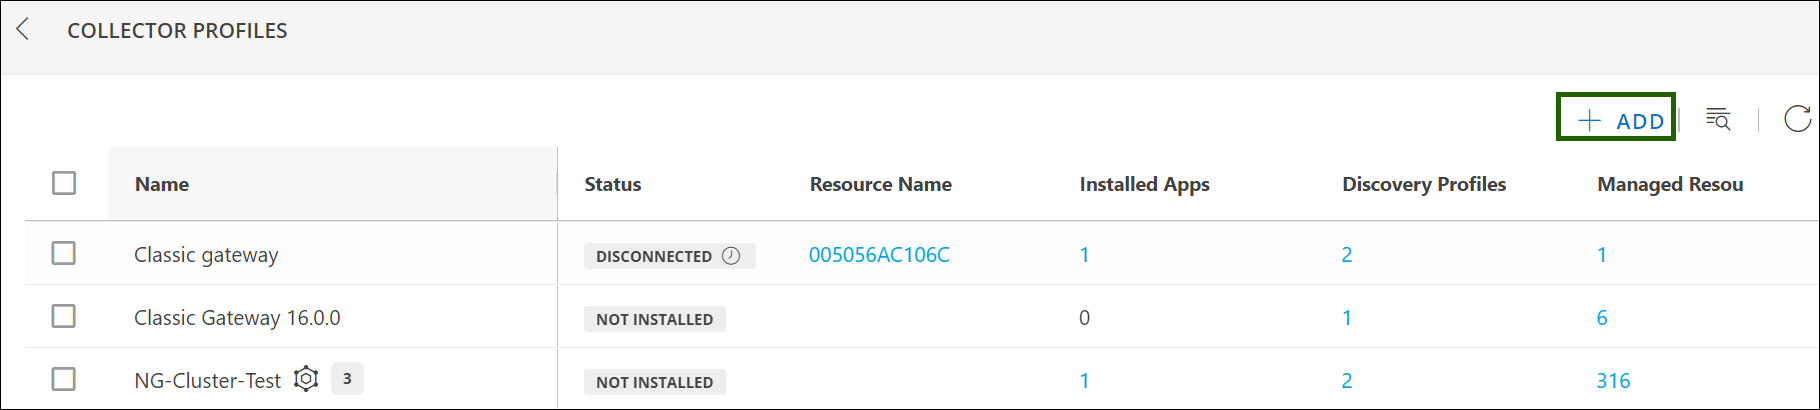
Go to Setup > Account > Collector Profile.
Click + ADD on the COLLECTOR PROFILES page.
Provide the Profile Name and Description. Then, click on the VIRTUAL APPLIANCE (ISO) NEXTGEN tile.
Click NEXT.
Download the gateway by clicking on the VIRTUAL APPLIANCE (ISO) tile.
Once you have downloaded the gateway, proceed to Step 2 to install the gateway.
Step 2: Install the NextGen Gateway ISO as a Virtual Machine
Note
The installation procedures for ISO is the same for both Classic and NextGen Gateway.
Click here to know how to install gateway as a virtual machine using an ISO image.
Step 3: Update Hostname and Install Kubernetes
Update the hostname and change the default password.
Note
We recommend you to set a unique hostname and change the default password once the gateway is provisioned. This best practice ensures that you have a unique host name and secured password on the network.
Do not update the hostname after installing K3s on a virtual machine.
Save the 50-cloud-init.yaml file and run the following command to apply the changes:
sudo netplan apply
Install the k3s:
If you don’t want to use OpsRamp repository and use your own repository (either public or private) for pulling docker images and Helm charts, then follow the below steps:
Open the specified yaml file and uncomment the “configs” section.
vi /var/cgw/asserts_k3s/registries.yaml.template
Provide your repository details as follows and ensure proper YAML indentation. Example: