If you are already using a cluster gateway, this article will guide you to migrate existing cluster gateway to nextgen gateway using custom repository.
Prerequisites
- Make sure the cluster gateway is registered to opsramp cloud and micro k8s is running.
- User should be a root user.
Micro k8s status: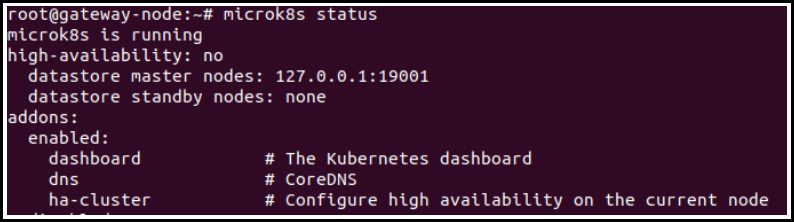

Prerequisites for Offline Migration of Clustered Gateway
Run the following commands before start migrating cluster gateway to nextgen gateway offline.
- Download the offline images tar.
wget https://storage.googleapis.com/opsramp_cluster_gateway_asserts/collector-cli/Offline/offline-images.tar.gztar -xvzf offline-images.tar.gz
cd offline-imagessudo mkdir -p /var/cgw/asserts_k3s/images/sudo cp * /var/cgw/asserts_k3s/images/Migration of Clustered Gateway to NextGen Gateway
Follow the below steps to migrate the existing clustered gateway to nextgen gateway:
- Download the migration script.
wget https://storage.googleapis.com/opsramp_cluster_gateway_asserts/collector-cli/Migration/cluster-nextgen.tar.gz- Untar the script using the following command.
tar -xvzf cluster-nextgen.tar.gz- After successfully untar the above tar file, make sure following files are present in the specified location using the following command.

- Run the
build.shfile to setup and configure the required files in the host machine.
cd cluster-nextgen
sudo sh build.sh
After successful
build.shscript execution, make sure all the required files and binaries are available before running the migration script.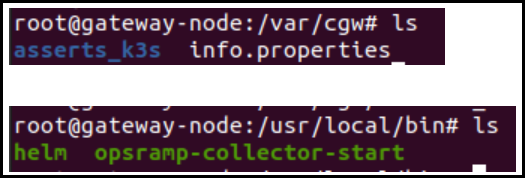
Create custom integration: You must create a custom integration and use the secret keys to update the device details in the cloud.
Log in to OpsRamp portal.
From All Clients, select a client.
Go to Setup > Integrations and Apps.
From Available Integrations, select Other > Custom Integration.
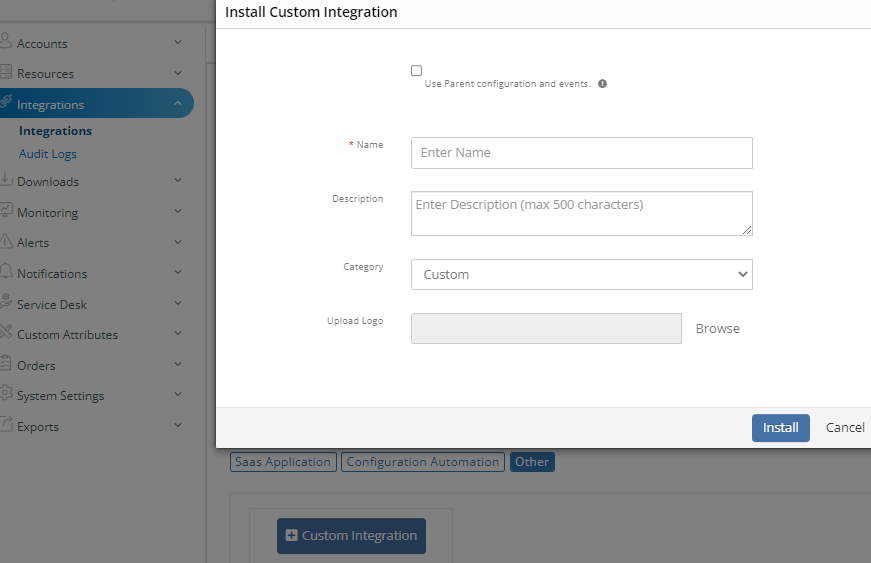
In the Install Custom Integration page, enter the following information. Click Install.
- Name: Provide name of the custom integration.
- Category: Select Custom or Collaboration from the drop-down option.
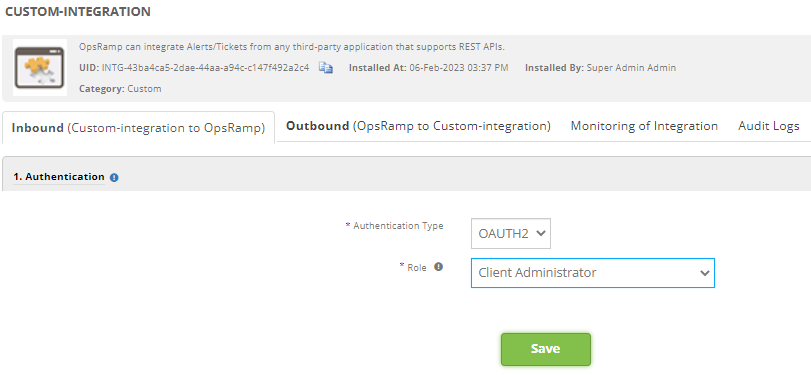
In the Authentication tab, enter the following. Click Save.
- Select Authentication Type
- Choose role as Client Administrator
Make a note of the Tenant Id, Key, and Secret Token.
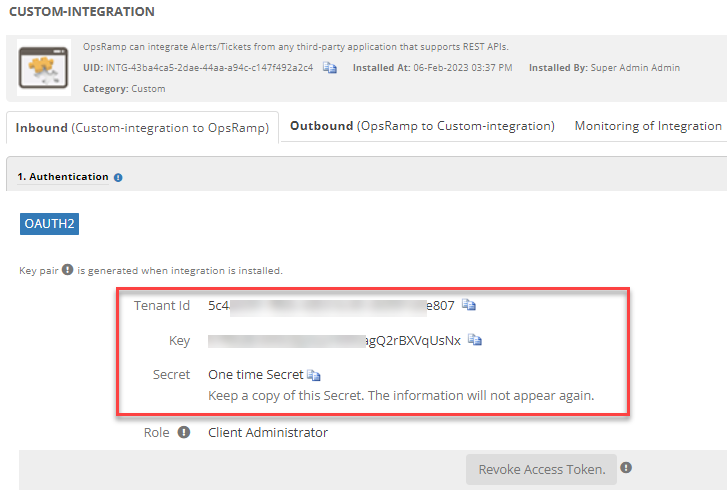
Now, the user needs to edit the
opsramp.configfile using the following command.vi opsramp.configOnce you edit the above file, you will see the following tokens. You must enter the following copied keys here:
- token_client_id= : Use the copied Key value
- token_client_secret= : Use the copied Secret value
- token_tenant_id= : Use the copied Tenant id value
Run the migration script using the following command.
- For common repository: Customers who are using OpsRamp repository can run the below command.
sudo sh migrate.sh - For custom repository: Customers who are using their own custom repository can run the below command.
sudo sh migrate.sh <repo> Example: sh migrate.sh hub.opsramp.com - For custom repository with credentials: Customers who are using their own custom repository with credentials can run the below command.
sudo sh migrate.sh <repo> <username> <password>

Example: sudo sh migrate.sh hub.opsramp.com 'admin' 'password'
Note
Username and password should be in single quotes.- For common repository: Customers who are using OpsRamp repository can run the below command.
Run the following command to start using kubernetes.
Example for Rancher k3s:
export KUBECONFIG=/etc/rancher/k3s/k3s.yaml
Post Migration Checks
Follow the steps below, to verify if the migration process is successful.
- Run the following command to check for the pod status.
kubectl get pods
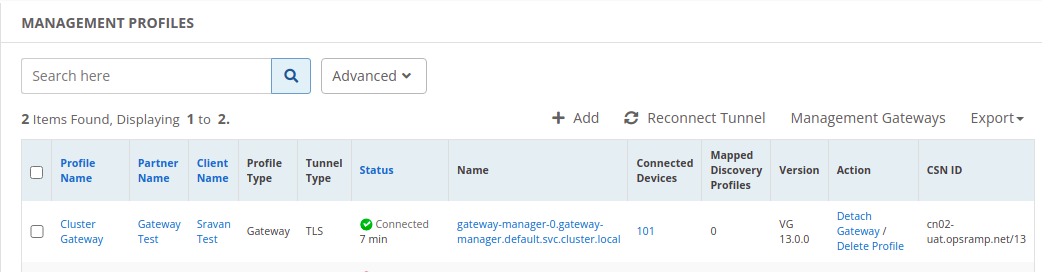
- Verify the gateway tunnel status in the Management Profiles section.
After migration is completed, perform the following steps to ensure that the SDK apps were installed.
- Login to vprobe container.
kubectl exec -it nextgen-gw-0 -c vprobe -- bashVerify the SDK app libraries in the following location.
ls /opt/gateway/content/repo/
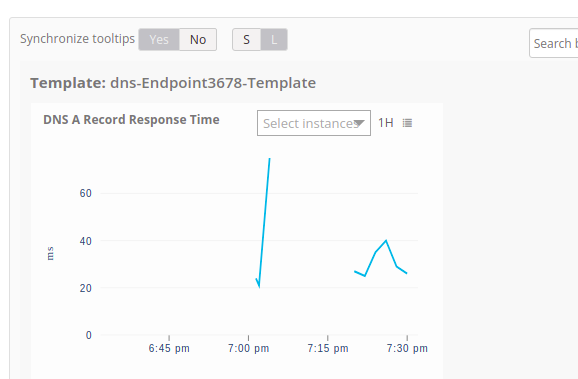
After the successful migration, verify the app discovery and monitoring.
OpsRamp Collector Bootstrap Tool
Refer to OpsRamp Collector Bootstrap Tool if you want to setup and configure the OpsRamp collector bootstrap tool in different environments with different OS flavours (Linux, Windows, and Mac).
Troubleshooting
How to resolve the dpkg error?
If you identify the following dpkg error while migrating the cluster-gateway to the nextgen-gateway, proceed with the steps below.
- Run the following command to see if any processes are running under dpkg.
sudo lsof /var/lib/dpkg/lock
- Run the following command to kill the running process.
sudo kill -9 {$PID}
- Remove the
/var/lib/dpkg/lockfolder using following command.sudo rm /var/lib/dpkg/lock - Run the OpsRamp Agent installation script manually.
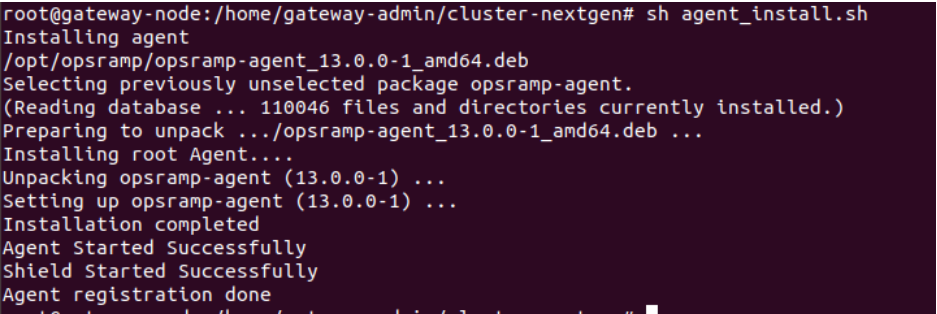
sudo sh agent_install.sh